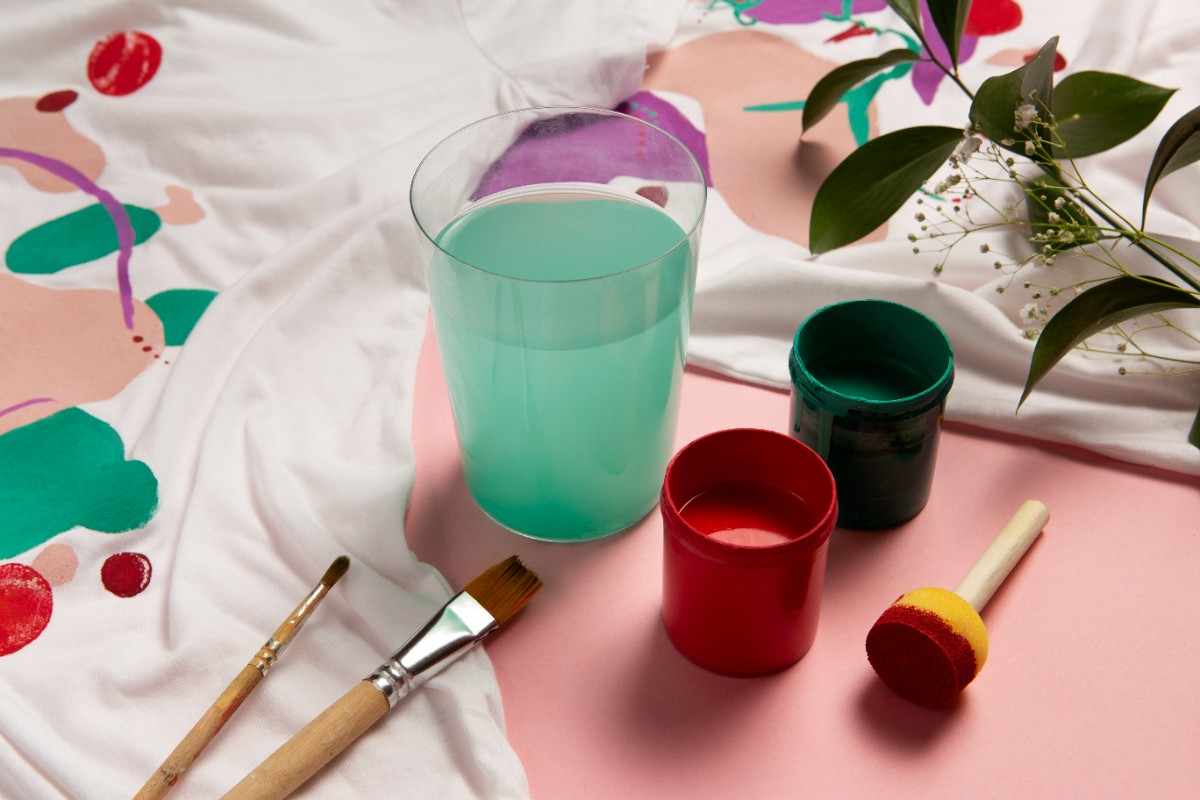
Resin pigments in silicone molds open up a world of creativity from stunning jewelry pieces to vibrant coasters and art trays. But one of the most common issues resin artists face is color bleeding, where colors unintentionally mix, making the final result look muddy or smudged. This happens when pigments spread beyond their intended areas during the resin’s curing process. The good news is, with the right methods, this problem is completely avoidable. In this guide, we’ll walk you through how to use resin pigments in silicone molds without color bleeding in just five essential steps, clear, simple, and effective. 1. Start With the Right Resin and Pigment Type The foundation of any clean resin art project lies in the materials you choose. Not all resins or pigments behave the same way, so selecting high-quality, crafting-grade epoxy resin is crucial. Look for a resin that offers a long working time and low viscosity, so it flows smoothly without generating excessive heat. Fast-curing resins may seem convenient, but they often trap air bubbles and cause pigment migration. Equally important is your pigment choice. Stick to resin-compatible pigments such as mica powders or concentrated resin dyes. These pigments are stable and don’t spread unexpectedly during curing. Avoid water-based colors or cheap liquid dyes, which are more likely to bleed. Alcohol inks can be used, but with caution; they spread easily and are better suited for creating blended or abstract effects rather than precise color separation. 2. Measure and Mix Your Pigments Properly Once you’ve chosen the right resin and pigment, how you mix them makes a big difference in whether your colors stay where you want them. Always follow the manufacturer’s instructions when measuring the resin’s two parts, usually Part A (resin) and Part B (hardener). Once fully mixed, add your pigment slowly and sparingly. A little goes a long way, and adding too much can interfere with the curing process or make the resin too runny, increasing the risk of color bleeding. Stir the pigment gently to avoid introducing bubbles. For projects involving multiple colors, prepare each color in its separate cup. Mixing pigments into resin only after the resin parts are combined helps maintain chemical balance and color control. Let the mixture sit briefly to let bubbles rise and allow the viscosity to stabilize before pouring. 3. Pour with Precision and in Stages To prevent your resin colors from running into each other inside the silicone mold, it’s important to pour with care and control. One of the most effective techniques is pouring in stages or layers. For example, pour your first colored resin and allow it to partially cure until it reaches a gel-like stage. This usually takes about 30 to 60 minutes, depending on the resin you use. Once it’s semi-set, pour the next color on top. This helps lock each color in place and significantly reduces the chance of bleeding. If you’re working on a detailed mold or a design that involves multiple colors side by side (like petals in a flower or color-blocked areas), use pipettes or syringes to place the resin exactly where it needs to go. For especially complex designs, you can even use temporary dividers like acetate strips to separate colors while they set, then remove them before the next pour. The key here is control; pouring too fast or in large amounts can cause the resin to overflow and allow pigments to blend unintentionally. 4. Maintain Ideal Conditions During Curing Even after you’ve poured your resin perfectly, it’s not safe to walk away and forget about it completely. Environmental conditions, such as temperature and movement, play a critical role in keeping your pigments in place. Resin cures best in a controlled, dust-free workspace with a temperature range between 70°F and 75°F (21°C to 24°C). Excessive heat or humidity can cause resin to cure unevenly or too quickly, leading to pigment migration. Make sure your work surface is level, and avoid moving the mold during curing. Even small vibrations can cause pigments to shift or flow into other areas. Also, do not cover the mold with plastic wrap or materials that trap moisture. If you’re using alcohol inks, a trick to avoid bleeding is to seal them with a thin layer of clear resin first, let it cure, and then proceed with the rest of your design. This helps lock the color in place and prevents it from blending into the next layer. 5. Let the Resin Cure Fully Before Demolding The final and often overlooked step is patience. Many resin artists, especially beginners, get excited and try to remove their creation from the silicone mold too soon. However, fully cured resin art ensures that pigments are set exactly where you poured them. Uncured or soft resin is still chemically active and can allow color movement if disturbed. Follow the curing time specified on your resin product label, which is typically 24 to 72 hours. Avoid poking, moving, or tilting the mold during this time. Once fully cured, your project will be strong, clear, and most importantly, color-true. If you’ve followed all the steps above, your final piece should show sharp lines, distinct colors, and zero bleeding. Final Thoughts Using resin pigments in silicone molds without color bleeding is entirely achievable when you work with the right materials, apply thoughtful techniques, and give your project the time it needs to cure properly. By focusing on these five essential steps, choosing the right resin and pigment, mixing carefully, pouring in stages, managing curing conditions, and allowing full cure, you’ll gain complete control over your colors and create professional-quality results. Whether you're crafting for fun, selling your work, or gifting handmade pieces, keeping your pigments clean and crisp is key to resin art that truly stands out. Stick to these fundamentals, and you’ll avoid one of the most frustrating problems resin crafters face: color bleeding.
You may also like
More from this category.

Corteiz Clothing Redefining Urban Style with Premium Apparel

Code Promo 1xBet Gratuit Aujourd’hui : 1XWIND – 130 €

Labubu Doll Canada: Authentic Blind Box Figures to Collect

Rick Owens Rain Jacket Buying Guide

Smart Ways to Improve Your Listening Skills for the PTE Academic Exam

How to Convert MBOX to PDF Files in Bulk?

10 Ways Commercial Interior Designers Transform Modern Business Spaces

How to Get a Safe Online Cricket ID from thecricketid Today?

BFF Test: A Fun Way to Discover Your True Best Friend
